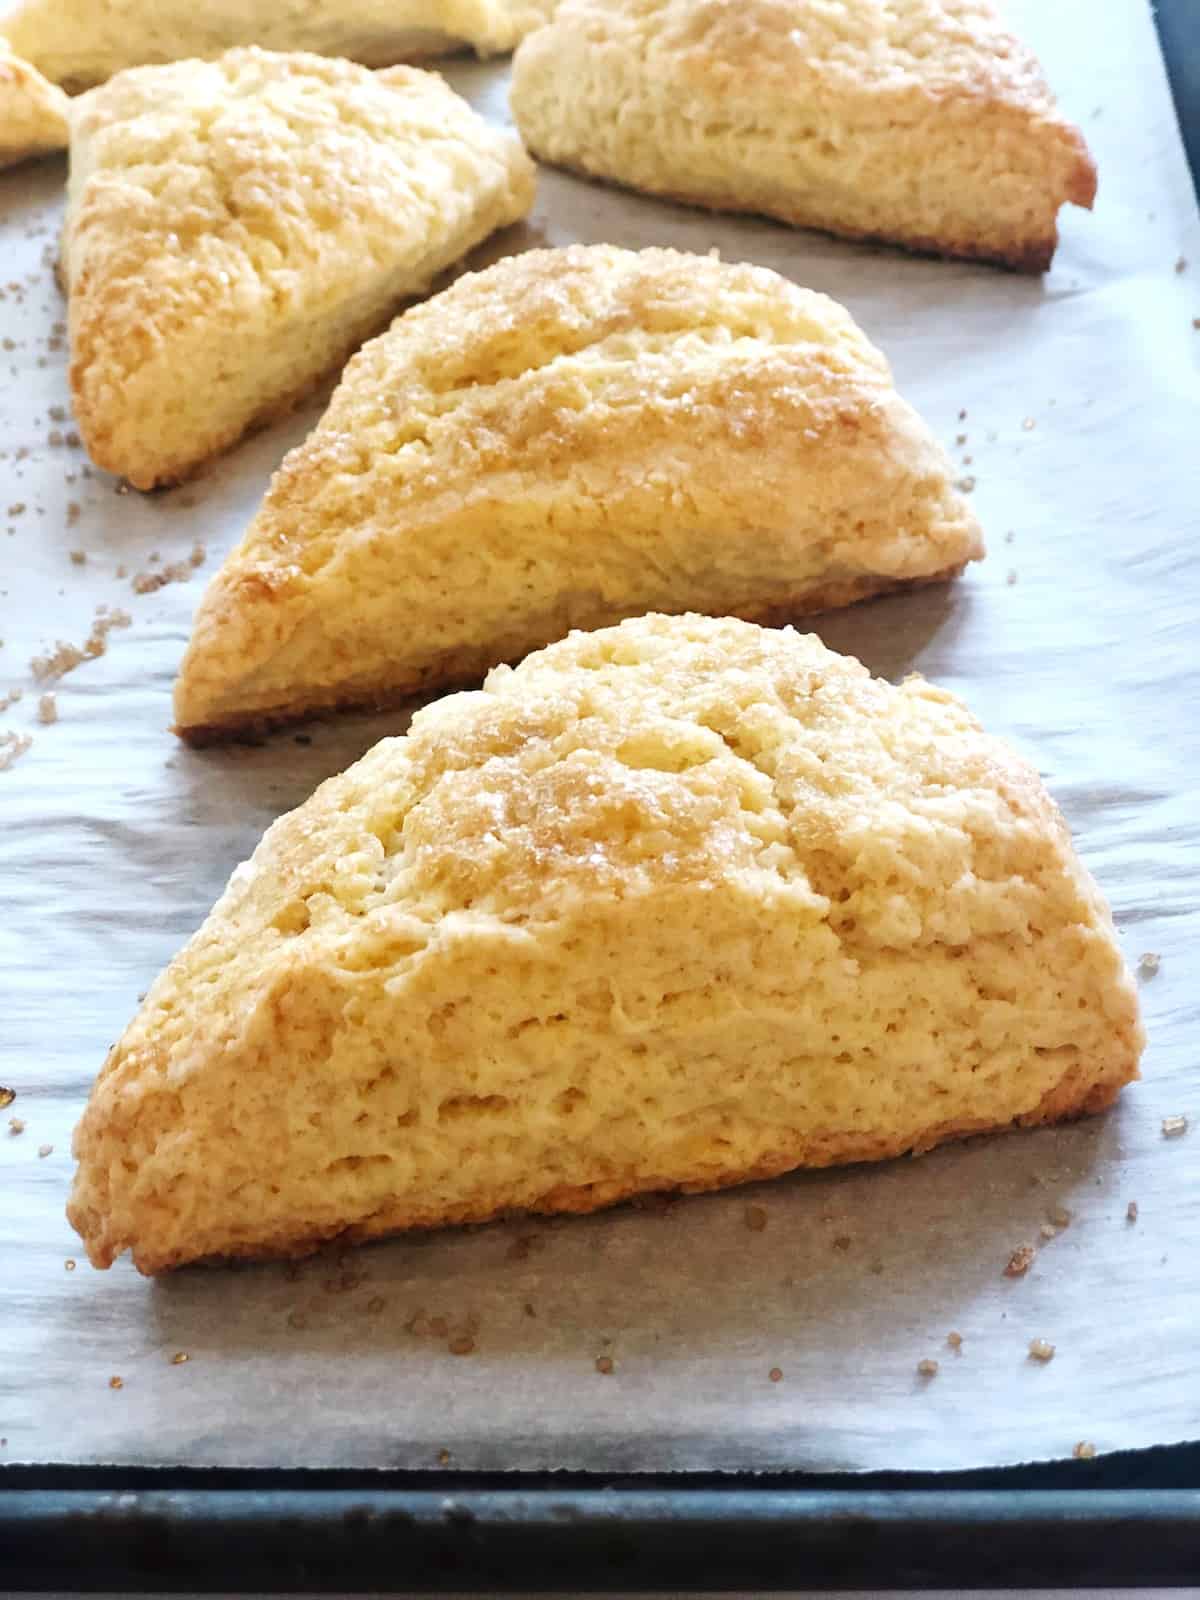
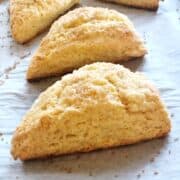
These easy vanilla scones are a classic and delicious vanilla flavor scone that goes so well with coffee or tea and anyone can make them. The scones are fluffy and light on the inside with a slight crunch on the outside and are wonderful on their own or with a little jam. Homemade scones are perfect for a snack, an afternoon treat, or for Sunday breakfast.

Vanilla scones are a tradition in our house and I really think this is the best scone recipe.
They are easy to make and have a classic flavor combination of vanilla flavor and cream. If you are wondering about the texture of these vanilla scones, they are buttery, flaky, and fluffy with those amazing layers that everyone loves.
Many people are scared to work with recipes that involve dough and I can understand that because I used to be that way too.
This is my tried and true recipe to make scones and I will walk you through the steps to make the perfect fluffy vanilla scones. I will also show you what you can look out for with your finished scones so you can know what to fix the next time you make them.
Now let me show you how to make them!

The ingredients you need
- Heavy Cream: Make sure the cream is cold. The cream helps with the moisture in the scones.
- Cold Unsalted Butter. Make sure you are working with cold butter.
- Unbleached All-Purpose Flour (I prefer King Arthur. Read notes below about my tips for which flour to use. )
- Salt: I always use kosher salt for my recipes. If you do not have kosher salt, regular table salt is fine, just reduce the amount of salt by half.
- Egg: These are large eggs. The egg is for the eggwash.
- Sugar: Regular granulated sugar.
- Demerara Sugar: I like to use this as a topping for my scones. You can also use regular sugar.
- Vanilla extract: The best quality you can find.
- Baking Powder: This helps give the scones rise.
All really simple ingredients here. I always have all of these ingredients on hand so for me, these vanilla scones are always at the top of my list when I am thinking about a special breakfast on the weekends.
How to make the best vanilla scones
The steps to making these easy vanilla scones are what makes them so amazing! They really do come out so delicious and fluffy when you follow these steps.
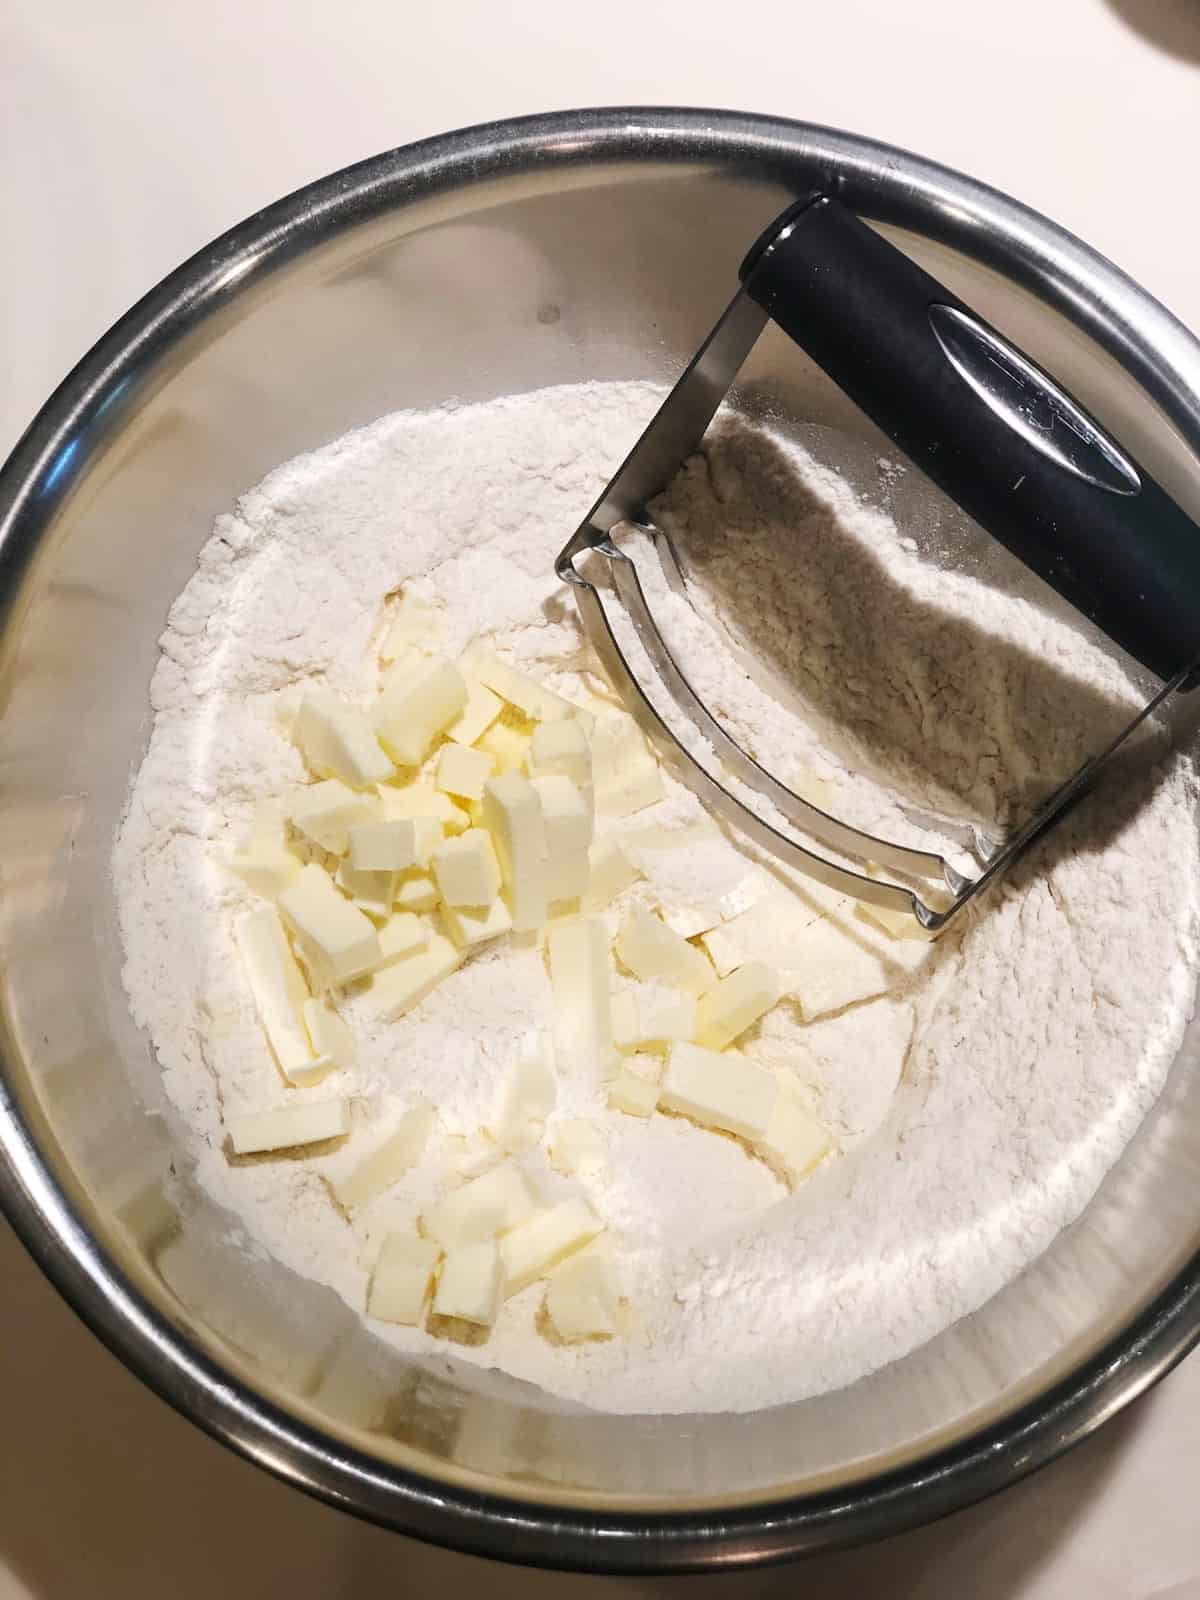
- Finely cube your butter then add it to your dry ingredients
Mix all of your dry ingredients well in a large bowl. I like to cut the stick of butter lengthwise into thirds with a sharp knife or pastry cutter. I then flip it to its side and cut it lengthwise again into thirds. I like to do this first and then place the butter back into the fridge while I assemble the rest of the ingredients
- Working with the butter to make fluffy scones
This is what makes a scone. When you marry the butter and flour together this gives those layers everyone loves and makes big fluffy scones.
I like to use a pastry cutter to mix the butter into the flour but you can also do this in a food processor. I also like to finish making my vanilla scones by rubbing the flour-butter mixture between my fingertips.
You just keep rubbing the mixture through your fingers until you don't feel any more lumps and it resembles a coarse meal.
- Adding the wet ingredients to the scone dough
This is where you mix your cream, vanilla, and egg and then add it to the butter-flour mixture. Here is where lots of people struggle as well.
Sometimes a recipe calls for one amount of liquid but your dough is still dry after adding that.
I have tested this vanilla scone recipe many times and I can tell you that, you start with what the recipe calls for and you will never need more than an extra 2 tablespoons of cream. Just add one tablespoon at a time.
- Shaping the scone dough- the rustic crumbly dough is good!

The dough for these vanilla scones is not smooth but a little rustic. It should stay together but you will see a few lines and cracks here and there.
Do not try to make the dough smooth.
You will think that there is not enough liquid at the first fold but with every fold and shaping that you do, it will come together more and more. There is no need to be perfect when working with scone dough.
The rustic-looking dough is good dough!
- Shaping and cutting scones
Tips
- I do not roll my scones. I use my fingertips to gently press the dough into a disc that is about 7 inches across and about ¾ inches thick. Use a ruler if you are not good at eyeballing this. After I gently shape the dough I fold it in half and press it back into the 7-inch across disc. I repeat this step 2 more times (a total of 3 folds and 3 shaping it into a disc). This will give you the layers you love.
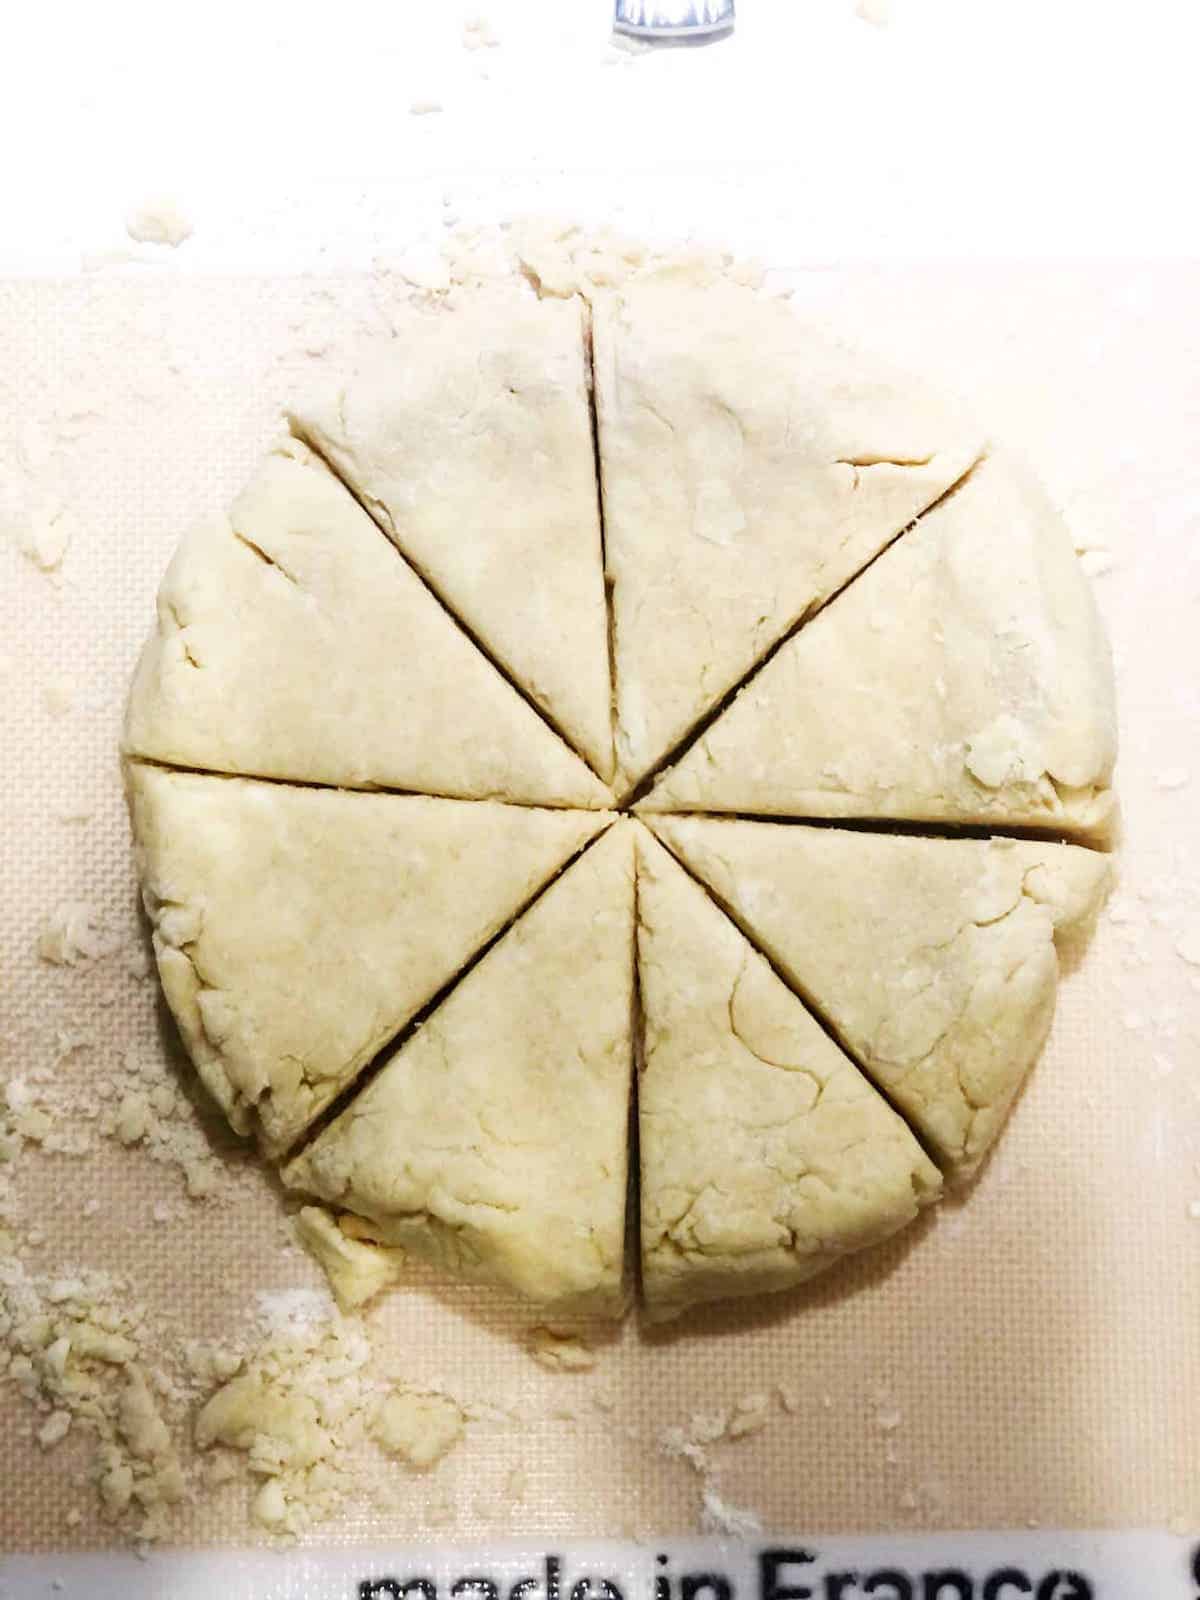
- When cutting these scones, I cut the scones into triangles so there is no waste. Biscuit or cookie cutters produce excess dough that needs to be re-rolled (or re-pressed) which ruins the scones. The triangles will seem very small but these scones will bake up to a beautiful size.
That is really all there is to it. No rolling. No fancy techniques.
Just make your dough, press it out, fold it, shape it three times, and cut.
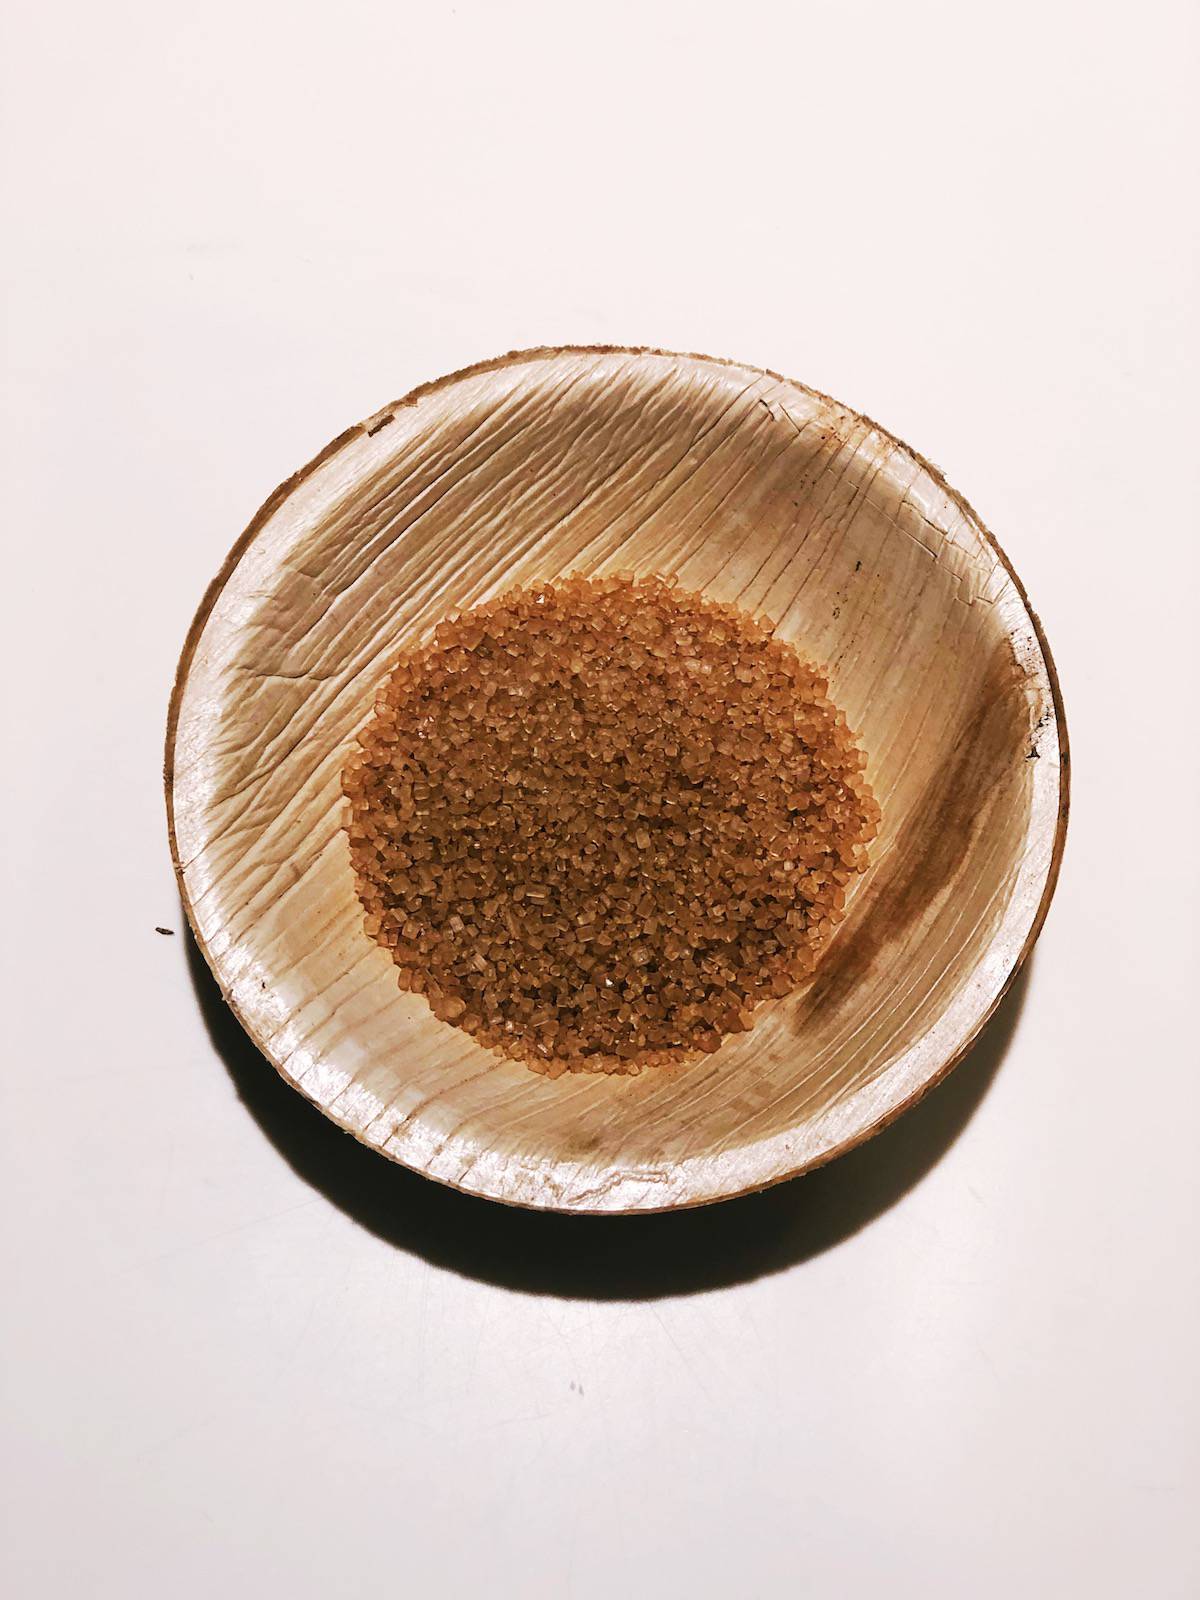
The best sugar for topping your scones
Now you may or may not have Demerara sugar in your house but if you do this is the time to use it. If you are not familiar with Demerara sugar it is very lightly processed coarse sugar that adds the most beautiful crunch and texture to baked goods.
It is not expensive and it lasts a long time. This is what I love to add to the top of the scones but you can substitute granulated or coarse sugar if you do not have it.

This is a very easy and forgiving recipe. It is also a great cream scone recipe to practice with until you feel confident working with dough.
Once you are comfortable working with these classic cream scones, you can experiment and try out other scones recipes with fruit or toppings (or savory) like my blueberry vanilla yogurt scones, blackberry scones, cheese scones, and apple pie scones.

Pairing Ideas
If you are looking for ideas of what to serve with these vanilla scones, here are some ideas:


Easy Vanilla And Cream Scones
Ingredients
- 2 cups Unbleached All Purpose Flour
- ¼ cup granulated sugar
- 8 tablespoon unsalted butter cold and finely cubed
- 2 eggs. One for the scone dough and the other for the egg wash
- ½ cup heavy cream plus more for egg wash
- 3 tablespoon Demerara sugar for topping. You can substitute granulated sugar for this.
- 3 teaspoon baking powder
- 1 tablespoon vanilla extract
- ½ teaspoon kosher salt or ¼ teaspoon table salt if you do not have kosher salt
Instructions
- Pre-heat your oven to 350 degrees
- Now add all of your dry ingredients (flour, baking powder, salt and sugar) to a large bowl and mix together. Set aside.2 cups Unbleached All Purpose Flour, ¼ cup granulated sugar, 3 teaspoon baking powder, ½ teaspoon kosher salt
- Cube your butter and place in the fridge.8 tablespoon unsalted butter
- Add your cream, one egg and vanilla to a small bowl and whisk until incorporated. Place in the fridge.2 eggs. One for the scone dough and the other for the egg wash, ½ cup heavy cream, 1 tablespoon vanilla extract
- Make your egg wash by mixing one egg and 2 tablespoons of cream.
- Set aside the egg wash for topping the scones later.
- Now take your butter out of the fridge and add it to your dry ingredients.
- With a pastry cutter, cut the butter into the flour until you barely see any more lumps of butter. If you are using a food processor, add your flour and butter to it and pulse it 5-7 times until it resembles coarse sand.
- Now with your finger tips, grab some of the flour and butter mixture and rub it between your fingers. You are trying to find any lumps of butter that you missed. Keep doing this until you stop finding any large clumps of butter.
- Now grab your wet ingredients from the fridge and add to your dry ingredients.
- Mix it well.
- If dough is very dry still, add 1-2 tablespoons more of the cream. The dough will be a little shaggy but should also not be overly dry.
- Now dump your dough onto a lightly floured work surface. It will look like large chunks and crumbles at this point.
- With your finger tips, make a dough ball. Keep moving it around and pressing it together. It is going to look very shaggy and this is good.
- Now press it down into a disc about 6-7 inches in diameter and ¾ inches thick. It may fall apart a little at this stage and that is normal.
- Fold your disc in half. If the dough begins falling apart just bring it back together.
- Press it out into a lightly flattened disc again. With each pressing and folding of your dough, it will begin to come together more and more.
- Repeat the fold and pressing into a disc 2 more times.
- Now press your disc out again to a size of about 7 inches in diameter and ¾ inch thick.
- With a large knife or bench scraper, cut your scones like a pizza pie into 8 slices. Note: I like to dip my bench scraper (which is just a wide sheet of metal with a grip) into flour each time I make a cut. This helps keep the dough from sticking to the knife and makes better layers during baking.
- Place the scones on to a large sheet pan.
- Grab the egg wash that you made earlier and brush that on top of the scones gently with a pastry brush. You may notice some flaking of the dough on the top as you do this and that is normal. If any pieces come off just press them back on.
- Sprinkle your Demerara sugar (or granulated sugar if using that) on top of the scones. Make sure to cover the whole top of your scones.3 tablespoon Demerara sugar
- Place in the pre-heated oven for 15 minutes or until golden brown on the bottom and top. Start checking at around 10-12 minutes since all ovens vary in temperature.
- Remove sheet pan from the oven and place on cooling rack for 5 minutes.
- Enjoy.
Notes
Helpful tips to help you perfect your scone making the next time:
- If you see lots of butter bubbling out of your scones onto the sheet pan during baking: This means that there was still lots of butter that should have been worked into the flour. Next time you make these scones, pay extra attention to this step and try to rub the flour and butter together more.
- Scones look a little flat on one side: This could mean that when you cut your scones you pushed too hard through the dough and basically sealed down layers of it during baking. Make sure you are using a very sharp knife or cutting implement and remember to dip the knife into flour before each cut.
Nutrition
Nutrition Values are estimates only.
See full nutrition disclaimer hereTried the Recipe? We Would Love To Hear From You In The Comments Below!
Michelle says
Fantastic recipe! I was scared to make scones due to possible hockey puck situations. Your step by step institutions made it less scary. Thank you! I have made these several times and they turn out wonderfully every time.
Melissa says
I am so glad to hear that!
Tara says
This is an amazing scone recipe. I’ve made lots of scones and these were perfect. Great texture, lots of flaky layers and amazing flavor.
My new go to scone recipe!
Teresa says
This might be the best scone I ever made! Texture was spot on- not too dry, very flaky. Just amazing vanilla flavor. Easy to make. Going to be a Sunday morning staple in my house!
Melissa says
Hi Teresa. I'm so glad you to hear that 🙂 Thanks for sharing!
Carole H says
I made this scone recipe for my son and his family. It was a huge hit. Wouldn’t change a thing!
Melissa says
I am so glad to hear that 🙂
Carolina says
I didn’t have heavy cream so I used evaporated milk and increased the sugar a bit…my family loved them! Once I added blueberries and my family inhaled them. We are big hot tea drinkers ( the English way) and this recipe was a hit. Thank you!
Melissa says
Hi Carolina. I am so glad to hear that! That evaporated milk and blueberries addition sounds wonderful.
Jonie says
These were really good scones! I am making them again today.
Melissa says
I am so glad you enjoyed them 🙂
Steph says
Just a quick comment - I switched to metric measurements to use for my dry ingredients and ended up adding way too much baking powder as the unit changes from teaspoons to tablespoons in the metric version!
I thought that was a lot of baking powder!
Melissa says
Thank you for letting us know! We are so sorry this happened to you.
We will reach out to the company that makes this feature to make sure it is fixed.